
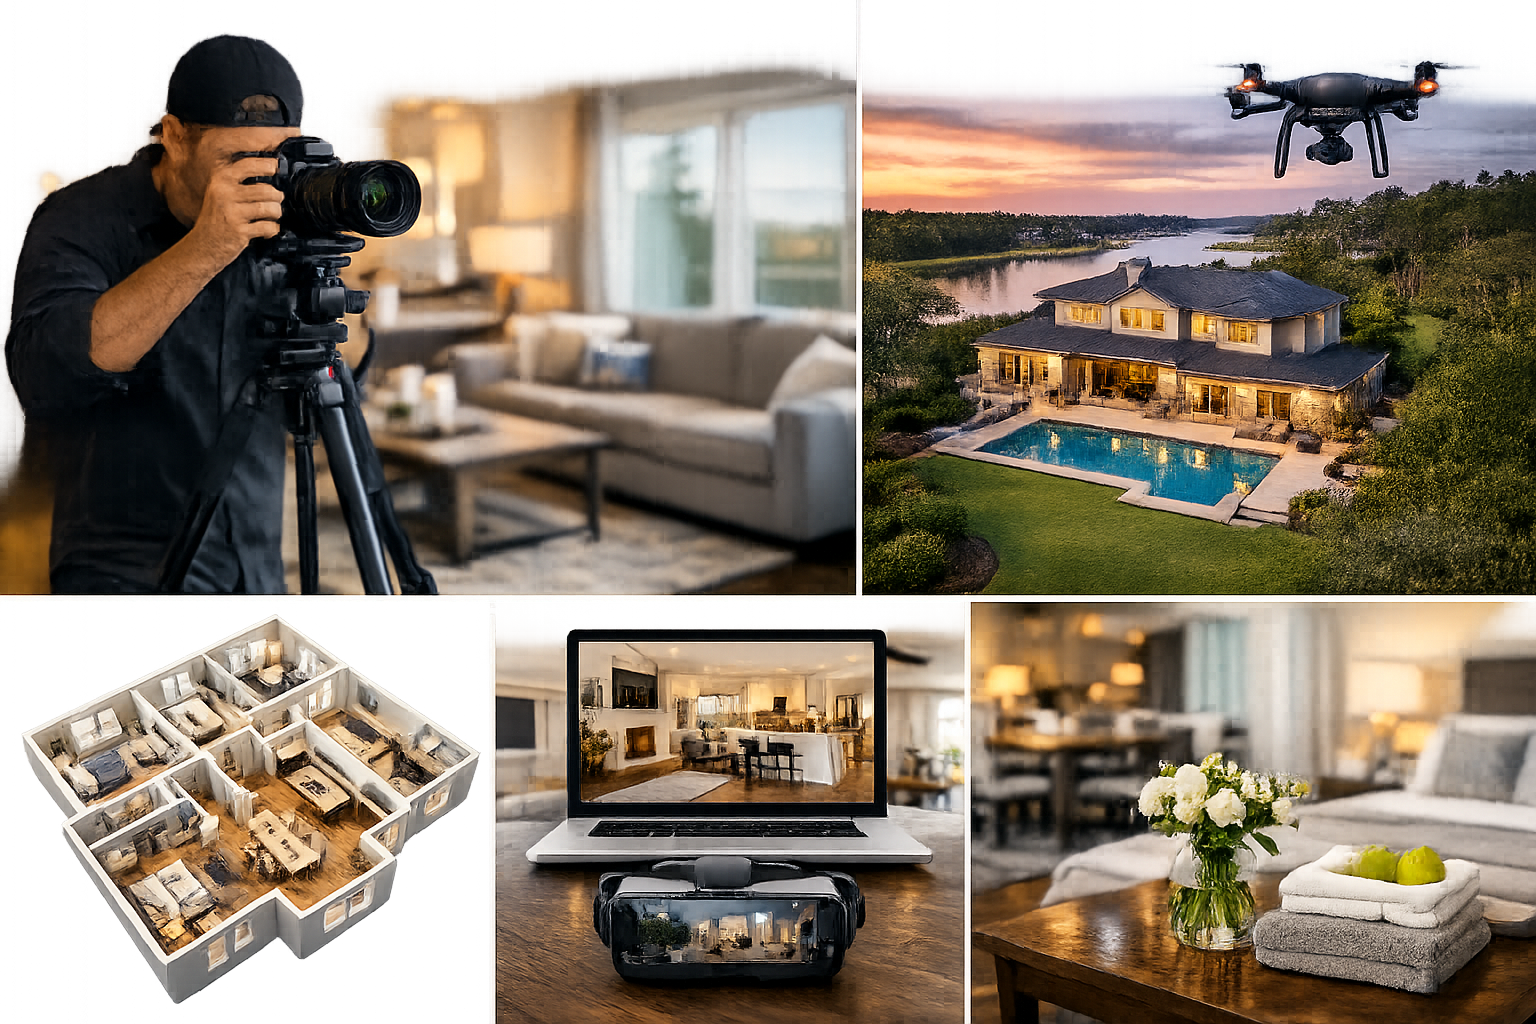
Most buyers start their search on a phone, scrolling through thumbnails at high speed. Your listing has seconds to get a tap. Professional real estate photography makes that first impression count, bringing out space, light, and lifestyle in a way casual photos cannot. The difference shows up in more clicks, more showings, and better offers. If you want your home to stand out on the MLS and major portals, high-quality images are one of the most effective marketing investments you can make.
First Impressions Start Online: Why Photos Sell Homes
Buyers use photos to decide if a home is worth a visit. Platforms often surface listings with high engagement, and strong photos drive saves, shares, and inquiries. Crisp, well-composed images help people picture themselves in the space, which shortens the time between first view and scheduled tour.
Good photography also reduces uncertainty. Clear room sequences, accurate colors, and true-to-life scale help buyers understand layout and flow. That means fewer questions from the wrong buyers and more calls from the right ones. Even in a hot market, the best listings rise to the top because the visuals do not leave room for doubt.
What Professional Photographers Do Differently
A professional does far more than press a shutter. They shape light, control perspective, and present each room with a purpose. The result is a consistent visual story that sells your home’s strengths and downplays any distractions.
Lighting and Color Accuracy
Professionals balance natural and artificial light so rooms feel bright without looking blown out. They manage mixed color temperatures from lamps and daylight so whites look clean and wood tones look warm. The colors in your photos should match what buyers see at a showing, which builds trust and reduces surprises.
Composition and Lens Choice
Phones and ultra-wide lenses can distort walls and stretch furniture. A pro selects focal lengths that capture space without bending vertical lines. They anchor compositions with clear leading lines, show two or three walls to convey depth, and place the camera at the right height for kitchens, baths, and living areas. Small changes in angle can make a room feel cramped or inviting, and experts know the difference.
Consistent Visual Storytelling
From curb appeal to the back patio, images should lead buyers through the home in a logical order. A pro builds a shot list and captures details that matter, such as built-ins, upgraded fixtures, and natural views. The gallery reads like a walkthrough, not a random set of pictures.
Post-Production That Respects Reality
Editing is where polish happens. Thoughtful blending creates even exposure, window views remain visible, and small distractions are reduced. Skilled editors avoid heavy filters, neon grass, and misleading sky replacements. The goal is a clean, attractive, accurate presentation that highlights value while preserving trust.
Compliance With MLS and Platform Rules
Every market has standards on watermarking, virtual edits, and file sizes. A professional understands local MLS requirements and platform best practices, which avoids takedowns and keeps your listing compliant and visible.
Visual Assets That Boost Engagement
Still photos are the core of real estate marketing, but certain add-ons can multiply buyer interest. Choose the assets that fit your property and price point.
Twilight Exteriors
Twilight sessions showcase exterior lighting, window glow, and landscaping. They add drama to a primary thumbnail and make listings stand out in search results. Homes with strong architectural lines, outdoor living spaces, or pool lighting benefit the most.
Drone and Aerial Images
Aerial photos highlight lot size, privacy, proximity to parks or water, and neighborhood amenities. They are especially useful for large parcels, unique roofs, or scenic locations. Work with licensed operators who follow local regulations and airspace rules.
Floor Plans and 3D Tours
Floor plans and interactive tours help buyers understand flow before a visit. Clear measurements answer key questions about furniture fit and room relationships. 3D tours attract out-of-area buyers and reduce unnecessary showings, which saves time and protects seller privacy.
Short Video and Reels
Quick cuts of the kitchen, living room, primary suite, and outdoor area play well on social media. Vertical video extends your reach beyond the MLS and brings fresh eyes to the listing. Keep clips under a minute and lead with your best spaces.
Preparing a Home for the Camera
Photography reveals everything. The cleaner and simpler the space, the more it shines. A small amount of prep creates big returns in the final gallery.
Pre-Shoot Checklist
- Declutter surfaces: clear counters, nightstands, and coffee tables.
- Depersonalize: remove family photos and personal paperwork.
- Optimize lighting: replace burnt bulbs with matching color temperatures.
- Neutralize odors: avoid strong scents that suggest covering issues.
- Polish key areas: windows, mirrors, stainless appliances, and faucets.
- Tuck away: trash cans, pet bowls, litter boxes, and visible cords.
- Stage soft goods: fresh towels, neutral bedding, balanced throw pillows.
- Enhance curb appeal: mow, edge, sweep, and hide hoses and bins.
- Prepare seasonal touches: tasteful planters or a simple wreath, not clutter.
Day-Of Logistics and Timing
Schedule mid-morning or late afternoon for flattering light. Open blinds, turn on all lights, and make sure the home is photo-ready before the shooter arrives. Plan to be out of rooms while they are photographed to avoid reflections and speed up the session.
Staging Basics That Photograph Well
You do not need a full redesign. Focus on proportion and calm color. Use one anchor piece per room, leave clear pathways, and group decor in odd numbers for balance. A bowl of green apples on the kitchen island, a folded throw on the sofa, and a vase with fresh stems are simple, photo-friendly touches.
Measuring ROI and Avoiding Common Pitfalls
The cost of professional real estate photography varies by market and package. For most listings, the fee is small compared to the first price reduction you might avoid. Strong visuals bring more qualified buyers early, which can shorten time on market and improve your negotiating position.
Common DIY Mistakes
- Crooked verticals that make rooms feel off-kilter.
- Harsh window blowout and dark corners in the same frame.
- Wide-angle distortion that misrepresents scale.
- Clutter and personal items that distract from features.
- Over-saturated edits that look artificial on the MLS.
- Night or noon sessions that flatten color and texture.
Avoiding these errors preserves credibility. Buyers who feel misled by photos are quick to move on, and showings drop fast when expectations do not match reality.
Small Improvements With Big Impact
Swapping outdated light bulbs for warm, high-CRI LEDs improves color. Steam-cleaning grout and re-caulking tubs photographs far better than bleach alone. Trimming hedges to the sill line opens window light. These modest steps combined with pro photography change how a home feels online.
How to Choose the Right Real Estate Photographer
Not all portfolios are equal. Look for consistent quality across property types, not just a few hero shots. Ask about process, deliverables, and support after the shoot.
Portfolio Review Checklist
- Straight verticals and accurate proportions in kitchens and baths.
- Natural color without heavy tints or muddy shadows.
- Balanced exposure that shows interior and window views.
- Logical gallery flow, from exterior to primary rooms to details.
- Experience with homes similar to yours in size and style.
Deliverables, Licensing, and Turnaround
Clarify how many edited photos you will receive, web and print sizes, and whether you get MLS-compliant files. Ask about aerials, twilight sessions, floor plans, and 3D tours. Confirm usage rights for the MLS, portals, social media, and brochures. Typical turnaround is 24 to 72 hours, with rush options available in many markets.
Coordination With Your Marketing Stack
Your photographer should integrate with your listing workflow. That includes naming files by room, providing a suggested gallery order, and supplying a few vertical crops for social platforms. If you use single-property websites or QR codes, ask for a media kit that includes photos, video links, and a floor plan in one place.
Practical Tips for Agents and Sellers
Plan your media when you sign the listing agreement, not after the sign goes up. Build a timeline that covers prep, staging, photos, and live date on the MLS. Think about your lead image early. For most homes, a bright, inviting living area or a strong front elevation performs best. Test a few options if your platform allows a quick swap based on engagement.
Communicate the story you want the photos to tell. If your competitive edge is a renovated kitchen and a private yard, allocate more frames to those spaces. If you want to attract remote workers, feature the home office and network-ready features. Purposeful visuals match the buyers you want to reach.
Turn Great Photos Into Faster Sales and Better Offers
Professional photography is not decoration, it is strategy. High-quality listing photos increase visibility, spark emotion, and set clear expectations, which leads to stronger showings and cleaner offers. Pair a polished gallery with a simple prep plan, the right add-ons for your property, and a photographer who understands your market. The result is a listing that rises to the top and a sale that moves forward with confidence.
Leave a Reply