
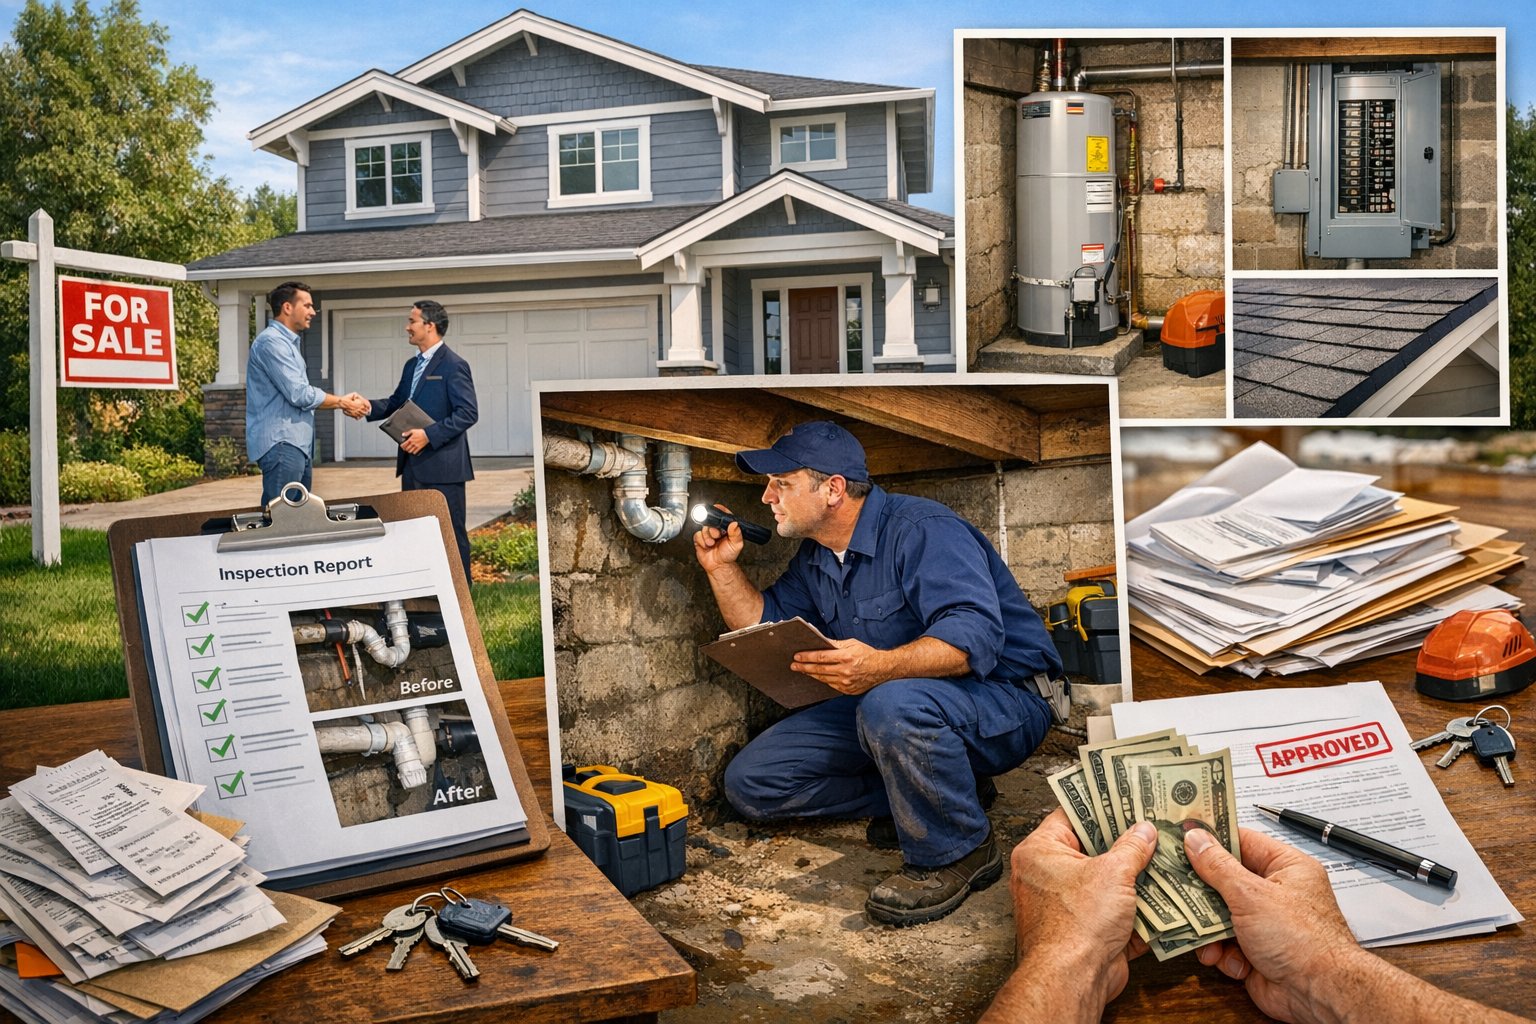
Surprises derail home sales. A buyer’s inspection can surface issues late in the process, spark last-minute price cuts, and push closing dates. A pre-listing home inspection flips that script. By evaluating your property before it hits the market, you gain clarity, control, and leverage. The result is a smoother sale, fewer headaches, and a stronger bottom line.
If you plan to sell soon, a seller-focused inspection is one of the most practical steps you can take. It informs smart pricing, guides targeted repairs, and gives buyers confidence in your home from the first showing.
What a Pre-Listing Inspection Typically Covers
Pre-listing inspections follow the same general standards used for buyer inspections. The inspector reviews visible and accessible components, then issues a written report with photos and recommendations.
Systems and Structure
Inspectors evaluate the roof, exterior cladding, foundation, crawlspaces, attic, and framing where visible. They also test major systems, including the HVAC, electrical panels and outlets, plumbing supply and drains, water heater, and appliances that stay with the home.
Safety and Maintenance Items
Expect notes on handrails, smoke and carbon monoxide alarms, GFCI protection in wet areas, trip hazards, and missing covers or extensions. Many findings are low-cost fixes that improve safety and show care to buyers.
Optional Add-ons Worth Considering
Depending on region and property type, consider radon testing, sewer line scoping, well and septic evaluations, wood-destroying organism inspections, and thermal imaging for moisture. These add clarity for older homes and unique properties.
Core Benefits Sellers Gain From Inspecting First
Getting ahead of inspection findings reshapes your listing strategy. The advantages touch pricing, days on market, negotiation posture, and buyer trust.
Price With Precision
A clear inspection report helps your agent set a price that reflects the home’s true condition. You can correct simple items, adjust for significant issues, or factor in a repair credit. Pricing accuracy reduces lowball offers and aligns your home with comparable sales.
Fewer Renegotiations and Canceled Contracts
Most deals wobble during the inspection contingency. When issues are already known and addressed, buyers have less reason to back out or demand discounts. That steadiness keeps your timeline intact and avoids second rounds of showings.
Faster, Cleaner Timeline
Taking care of repairs before listing eliminates scramble-to-fix weeks under contract. Contractors can schedule work on your terms, not the buyer’s deadline. This reduces stress and supports a quicker closing.
Marketing Confidence and Transparency
Advertising a recent pre-listing home inspection and sharing a summary builds credibility. Buyers tend to assume there is more to find when information is scarce. Transparency signals honesty and care, which can draw stronger offers.
How Pre-Listing Inspections Strengthen Negotiation
Knowledge is leverage. With a report in hand, you and your agent can decide what to fix, what to disclose, and how to communicate value to buyers.
Tackle Repairs Strategically
Prioritize high-visibility items and health-safety issues. Roof patches, active leaks, obvious electrical hazards, trip risks, and HVAC service are common quick wins. Many small fixes cost less than the price reductions buyers would demand to address them later.
Offer Credits or Warranties When Repairs Are Not Practical
Large projects, such as full roof replacement or sewer line repairs, may be inconvenient pre-listing. In those cases, a documented estimate paired with a seller credit or a home warranty can resolve concerns without delaying your launch date.
Set Buyer Expectations and Limit Surprises
Share the inspection summary with buyers early, and make full reports available upon request through your agent. When buyers see that you evaluated the home, completed targeted repairs, and priced accordingly, they are less likely to push for concessions.
Cost, ROI, and Ideal Timing
Most pre-listing inspections pay for themselves many times over, especially in markets where buyers expect transparency and homes compete on condition.
Typical Costs and Who Pays
Expect to spend $300 to $700 for a standard inspection, depending on size and location. Add-ons like radon tests or sewer scopes range from $100 to $350 each. Sellers usually pay, though some agents may contribute as part of a listing package.
Best Timing in the Prep Process
Schedule the inspection after you finish decluttering and basic maintenance but before photography and going live. This timing gives you room to handle quick repairs and update marketing copy with accurate condition notes.
Simple ROI Example
If your inspector finds a minor roof flashing issue and a handful of safety fixes totaling $900 to repair, addressing them before listing can prevent a buyer from asking for a $3,000 credit post-inspection. Your net is stronger, and your closing is smoother. That is a common pattern with small, visible issues.
Work With the Right Pros and Use the Report Wisely
Your real estate agent and inspector are key partners. Choose pros who communicate clearly and focus on solutions.
Choosing a Qualified Inspector
Look for state licensing where applicable, membership in a recognized association, strong reviews, and sample reports that include photos and clear recommendations. Ask about availability for quick re-inspections if you make repairs.
Deciding What to Disclose
Disclosure requirements vary by state. In general, if you know about a material defect, you should disclose it. Your agent can advise on how to present the findings, what to include in the seller’s disclosure, and how to document completed repairs.
How to Share the Report in Your Listing
Common practices include placing a summary in the MLS, keeping the full report available upon request, and listing completed repairs on a one-page highlights sheet. This approach gives buyers the information they need without overwhelming them.
Smart Prep Checklist Before the Inspector Arrives
A few simple steps help the inspector access everything and produce a thorough report.
- Replace burned-out bulbs, test smoke and carbon monoxide alarms, and install missing GFCI outlets where required.
- Clear access to the attic, crawlspace, electrical panel, furnace, and water heater.
- Run all plumbing fixtures, check for slow drains, and fix minor leaks and drips.
- Service the HVAC system and replace filters.
- Secure loose handrails, tighten wobbly toilets, and add missing outlet and switch covers.
- Trim vegetation away from siding and the foundation, and clean gutters.
- Label remotes and wall switches, leave keys for gates and outbuildings, and note any non-functioning items you already plan to replace.
Common Concerns and Myths, Answered
Pre-listing home inspections often raise the same questions. Here is what sellers need to know.
“Will I have to fix everything?”
No. The goal is to handle cost-effective items that improve safety and show well, then decide how to address larger issues with pricing, credits, or disclosures. Targeted action is what matters.
“Does sharing a report give buyers ammunition?”
Buyers will almost always conduct their own inspection. Sharing a credible report first frames the conversation, reduces suspicion, and shows you priced with condition in mind. Most agents find transparency lowers the risk of inflated post-inspection demands.
“Do buyers trust a seller’s inspection?”
They do when the inspector is reputable and the seller is candid. Pair the report with receipts, permits where applicable, and a concise list of completed repairs. Many buyers still order their own inspection, but the tone is more collaborative when they walk in informed.
“What about as-is sales?”
Even for as-is listings, a pre-listing inspection can clarify condition and attract serious buyers who understand the scope. That clarity can shorten days on market and reduce surprises that would otherwise kill deals.
Advanced Tips to Maximize the Benefits
Once you have the report, use it to fine-tune strategy and presentation.
Align Repairs With Buyer Priorities
Focus on items that influence financing, insurance, and daily comfort. Examples include roof leaks, exposed wiring, double-tapped breakers, active plumbing leaks, water intrusion around windows, and non-functioning HVAC components.
Document Everything
Save invoices, photos of completed work, and contractor licenses or warranties. Organized documentation reassures buyers and appraisers that issues have been properly addressed.
Coordinate With Staging and Photography
Finish repairs before photos and 3D tours. Fresh caulk, patch-and-paint touch-ups, tightened hardware, and clean mechanical rooms elevate first impressions and back up the inspection story you are telling.
Set the Stage for a Faster, Cleaner Sale
A pre-listing home inspection gives you a clear picture of condition, the tools to price with confidence, and the opportunity to present a well-prepared home. It reduces renegotiations, supports a smoother timeline, and helps buyers feel secure about their decision. Work with a qualified inspector, coordinate with your real estate agent, and take targeted action based on the report. That preparation pays off in stronger offers and a sale that stays on track from listing to closing.
Leave a Reply